


In today’s digital age, live streaming is no longer just an option for event organizers—it’s a necessity. Whether you’re hosting a corporate event, a live concert, a worship service, or even a virtual conference, providing a professional-grade live stream has become a crucial part of engaging your audience and expanding your reach. But how do you ensure that your AV setup is fully optimized for streaming, providing the best possible experience for both your live and virtual audience?
At Professional AVL, we specialize in creating custom AV solutions for streaming that deliver crystal-clear audio, sharp visuals, and seamless live broadcasts. Here’s a detailed, technical guide on how to optimize your AV setup for live streaming events.
1. Start with a Solid Audio-Visual Foundation
Your AV setup for live streaming begins with selecting the right audio and video equipment. The quality of both your sound and visuals will directly impact the streaming experience, so it’s important to invest in reliable gear. Here’s what you need:
Audio Equipment:
-
Microphones: Invest in high-quality microphones suitable for your event. Lavalier mics work well for speakers or hosts, while handheld or shotgun mics are ideal for capturing more dynamic sounds (e.g., music performances or panels).
-
Mixing Console: A quality audio mixer allows you to control the sound levels of various microphones and other audio inputs (like music or sound effects). Look for a digital mixer with USB output if you’re directly connecting to your streaming software or hardware.
-
Audio Interface: An interface is essential for converting your analog audio signals to a digital format for streaming. Ensure you choose an interface with enough channels to accommodate your mics and audio sources.
Video Equipment:
-
Cameras: For high-definition streaming, opt for HD or 4K cameras. Webcams can work for smaller events, but dedicated camcorders or DSLR cameras will provide much better video quality and depth.
-
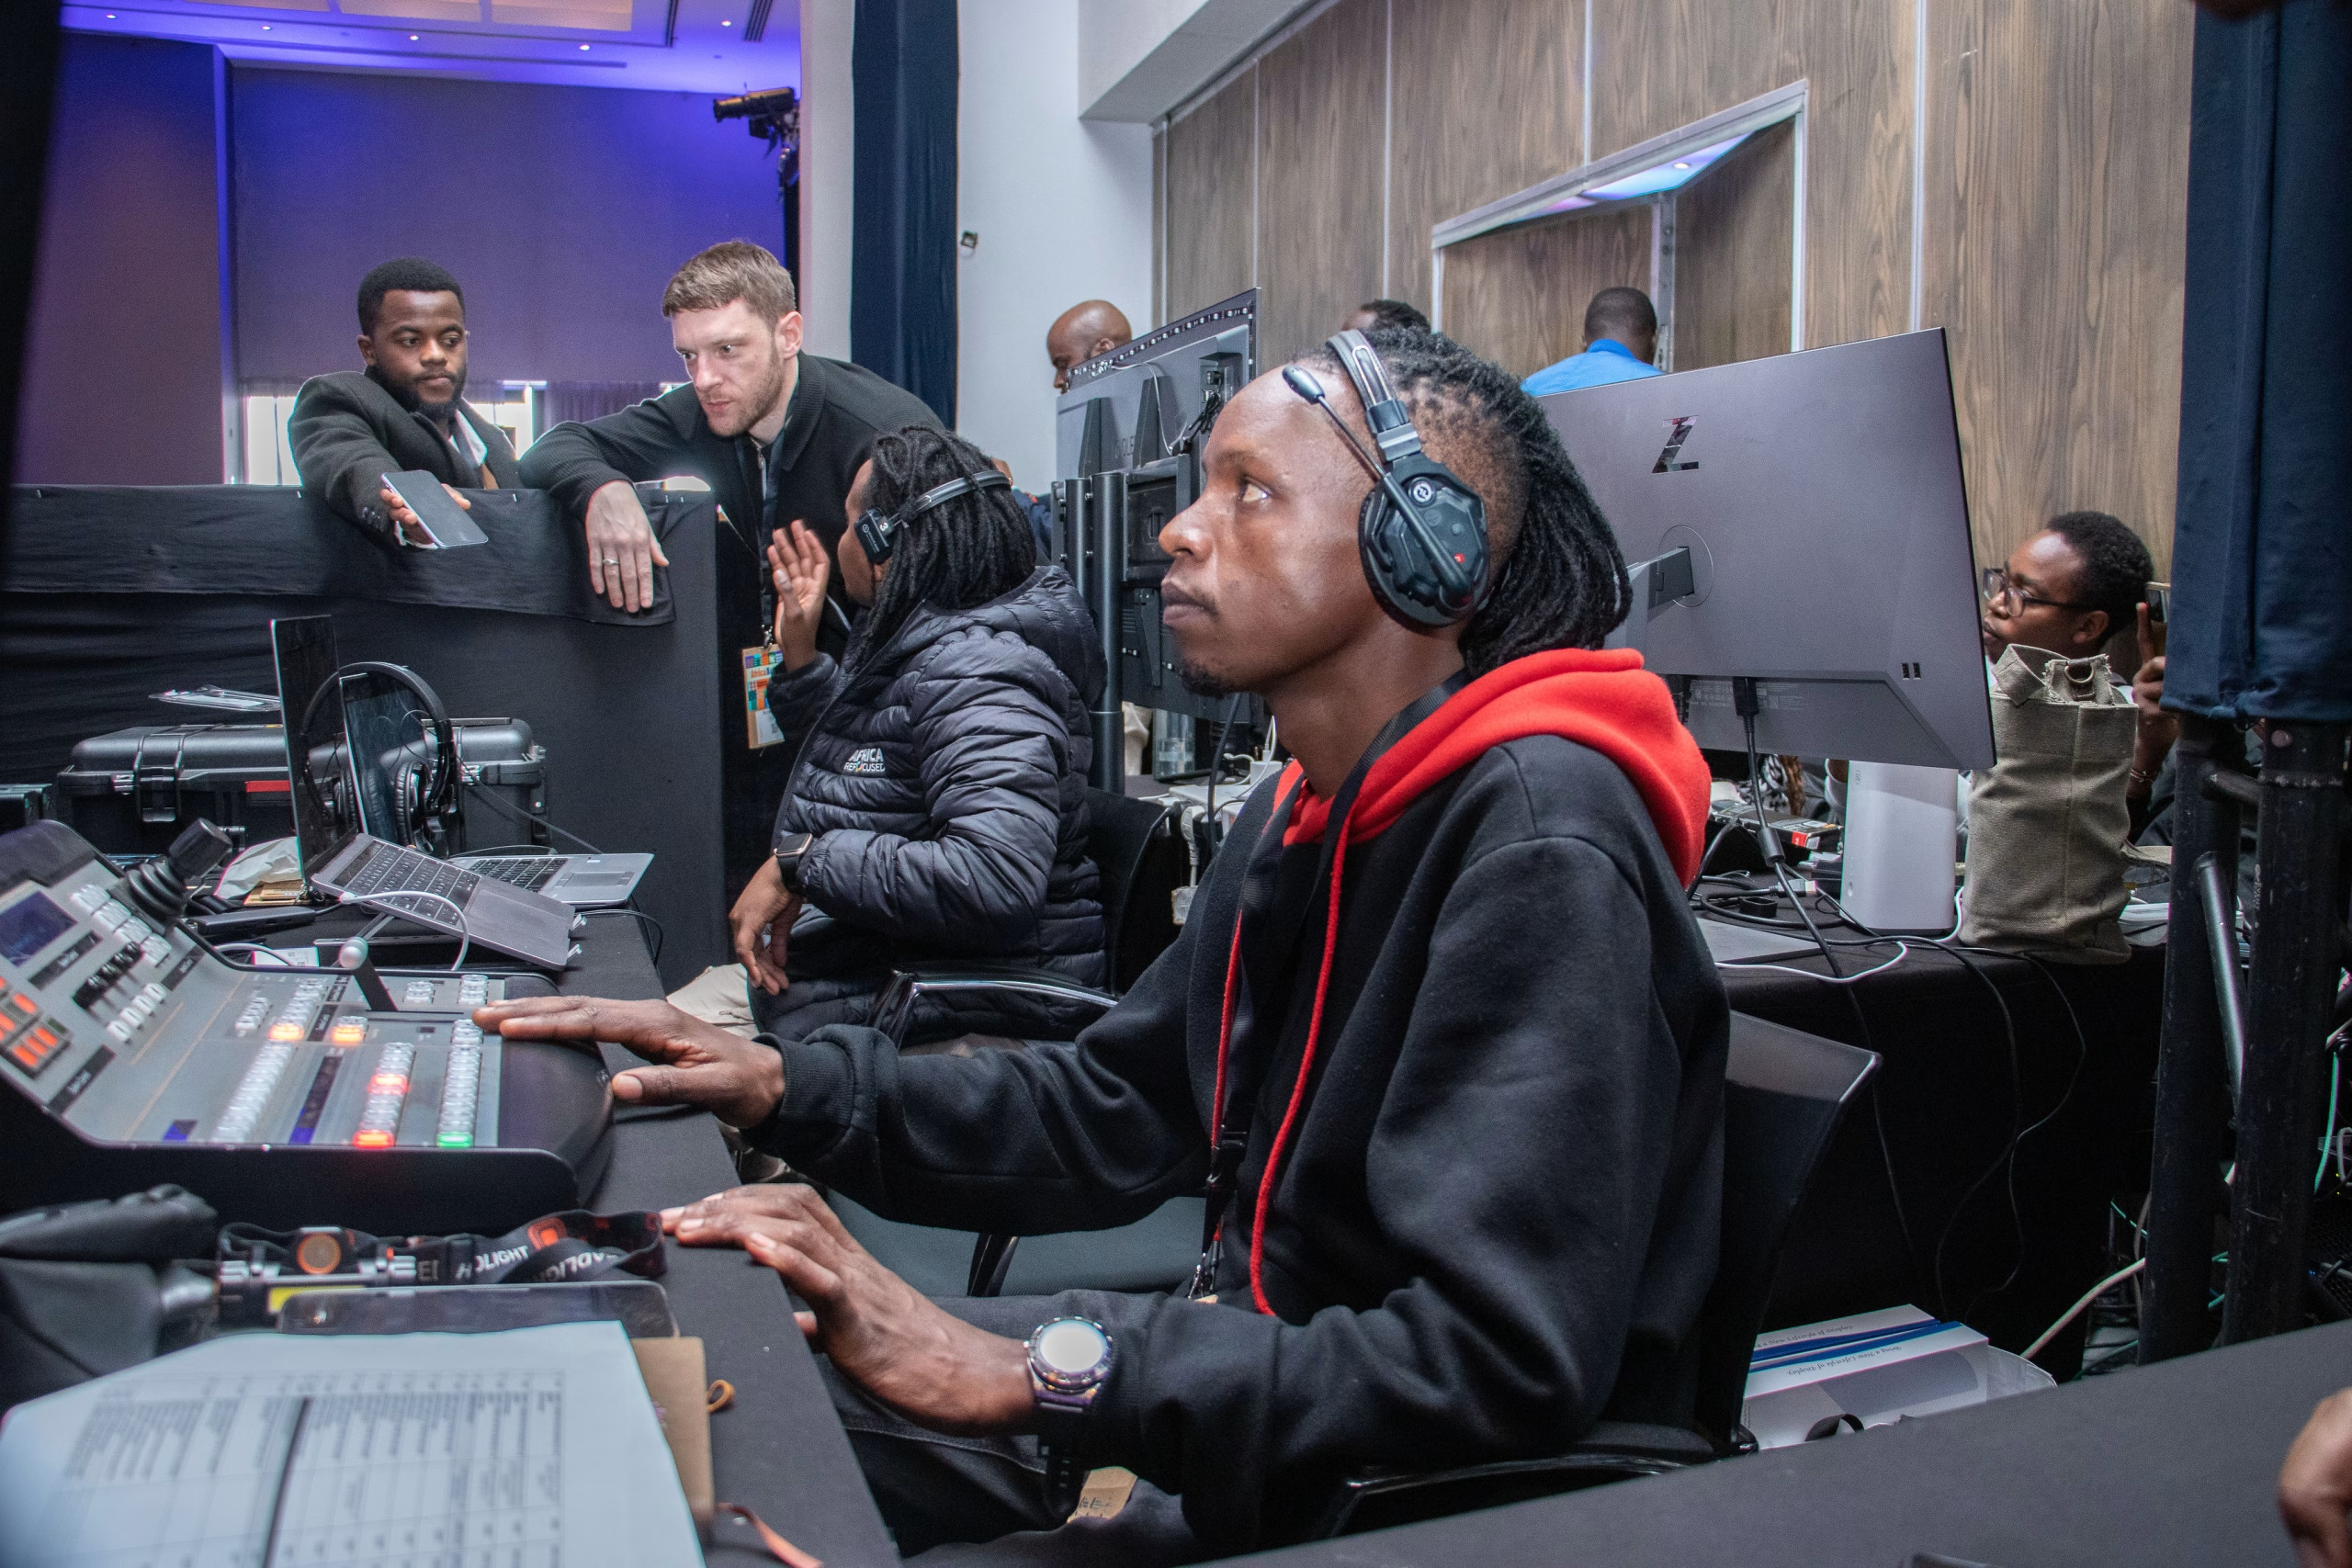
Switchers: A video switcher is critical if you’re using multiple cameras or video feeds. This piece of equipment lets you seamlessly switch between camera angles, pre-recorded videos, slides, or graphics during the live stream.
-
Capture Cards: Capture cards convert the video signal from your camera to a format that can be used by your streaming software. This is especially important if you’re using a DSLR or camcorder instead of a webcam.
2. Ensure Proper Lighting
Lighting is often an overlooked aspect of live streaming but is crucial for producing a high-quality stream. Poor lighting can lead to grainy or shadow-filled footage, which detracts from the professional quality of your stream.
-
Three-Point Lighting Setup: This technique involves using three light sources: one key light, one fill light, and one back light. The key light is your main light source, while the fill light softens shadows, and the back light creates depth by illuminating the subject from behind.
-
Softboxes and LED Panels: Use softboxes or LED panels to diffuse light evenly across your subject. LED lights are energy-efficient and allow for easy adjustment of brightness and color temperature.
3. Optimize Your Internet Connection
The backbone of any successful live stream is a stable and high-speed internet connection. Without this, your stream will suffer from buffering, lag, and pixelation. Here’s how to ensure smooth streaming:
-
Wired Ethernet Connection: Always use a wired connection rather than relying on Wi-Fi. Ethernet connections provide faster and more reliable internet speeds, reducing the chances of dropped packets or unstable streaming.
-
Upload Speed: Check your upload speed, as this determines the quality of your stream. For high-definition video (1080p), you should aim for an upload speed of at least 5 Mbps. For 4K video, the recommended upload speed is 20 Mbps or higher.
-
Backup Internet: Consider having a backup internet source (such as a secondary internet line or 4G/5G hotspot) in case your primary connection fails.
4. Select the Right Streaming Platform and Software
Choosing the right streaming platform and software is critical for live streaming success. Your choice will depend on the type of event you’re hosting, the number of viewers, and the features you need.
-
Streaming Software: Programs like OBS Studio, vMix, or Wirecast allow you to control multiple cameras, manage video feeds, add overlays, and stream to multiple platforms simultaneously. These tools are vital if you want to deliver a professional-grade production.
-
Streaming Platforms: Popular platforms include YouTube Live, Facebook Live, and Twitch for broader reach. For more controlled or corporate events, consider platforms like Zoom, Vimeo, or Restream, which allow for more customization and private streams.
-
Encoding Settings: Your encoding settings in the streaming software (such as resolution, bit rate, and frame rate) should be optimized based on the platform you’re using and the available bandwidth. A general rule is to stream at 1080p at 30fps or 60fps with a bit rate between 3000-6000 Kbps.
5. Create a Seamless Stream with Graphics and Overlays
Adding graphics and overlays is an excellent way to engage viewers and enhance the visual quality of your live stream. This includes things like logos, lower thirds (on-screen name tags), slides, and event information.
-
Overlays: Use branded overlays to frame your camera feeds or add event-specific details. This gives your live stream a polished and professional look.
-
Graphics: Lower thirds are especially helpful for introducing speakers or presenters. You can also use animated graphics or countdown timers to make transitions smoother.
6. Test Your Setup Before the Event
One of the most crucial steps in ensuring a smooth live streaming experience is to test your AV setup well in advance of the event.
-
Conduct a Full-Scale Test: Run a full rehearsal with all your equipment connected, including cameras, microphones, and internet connections. Test the audio levels, video quality, and transitions between different camera angles.
-
Check for Latency: Live streaming is all about minimal delay. Ensure your video and audio are in sync, and check for any lag or delays between the two.
-
Adjust Audio Levels: Make sure the audio levels are balanced. Too loud or too soft, and your viewers will lose the experience. Test various audio sources (e.g., mics, music, ambient sounds) to ensure they are clear.
7. Post-Event Editing and Streaming Analytics
Once your live event is over, your work isn’t done. Many streaming platforms offer valuable analytics that can help you measure the success of your stream, from viewer engagement to video quality. You can also post the recording of your live event on social media or your website for those who missed it.
-
Post-Event Editing: Use editing software to clean up your live stream if necessary, especially if there were technical issues or interruptions during the event.
-
Engagement Analytics: Review your streaming analytics to assess audience engagement, drop-off points, and other valuable data that can help you improve future streams.
Conclusion: Stream with Confidence
With these steps, you can optimize your AV setup for live streaming events, ensuring a professional, high-quality broadcast that will engage and impress your virtual audience. Whether you’re hosting a corporate meeting, a religious service, or a live performance, setting up the right audio and video equipment, ensuring strong internet connectivity, and using the proper streaming software will take your event to the next level.
At Professional AVL, we specialize in helping businesses, ministries, and event organizers implement effective event live streaming solutions. If you’re looking to enhance your streaming setup, contact us today for expert guidance and tailored AV solutions that fit your needs.

